Recently I migrated from PhpStorm to VS Code, but one thing that I miss from PhpStorm is its JetBrains Mono font. And when I completed the JetBrains Mono font setup in my VS Code, I thought documenting the process would be a great idea for others that would like to follow suit and don't know how to get around it.
So here are the steps that you have to follow:
Step - 1: Download the JetBrains Mono font
To download the JetBrains Mono font you can click here Or visit https://www.jetbrains.com/lp/mono/ and click on the Download font button.
Step - 2: Install the JetBrains Mono font in Ubuntu
In order to install JetBrains Mono font in your Ubuntu system, you have to extract the downloaded zip file and copy the files and folders from the fonts folder and paste it into the ~/.local/share/fonts (or /usr/share/fonts, to install fonts system-wide).
Step - 3: Set the JetBrains Mono font in VS Code
-
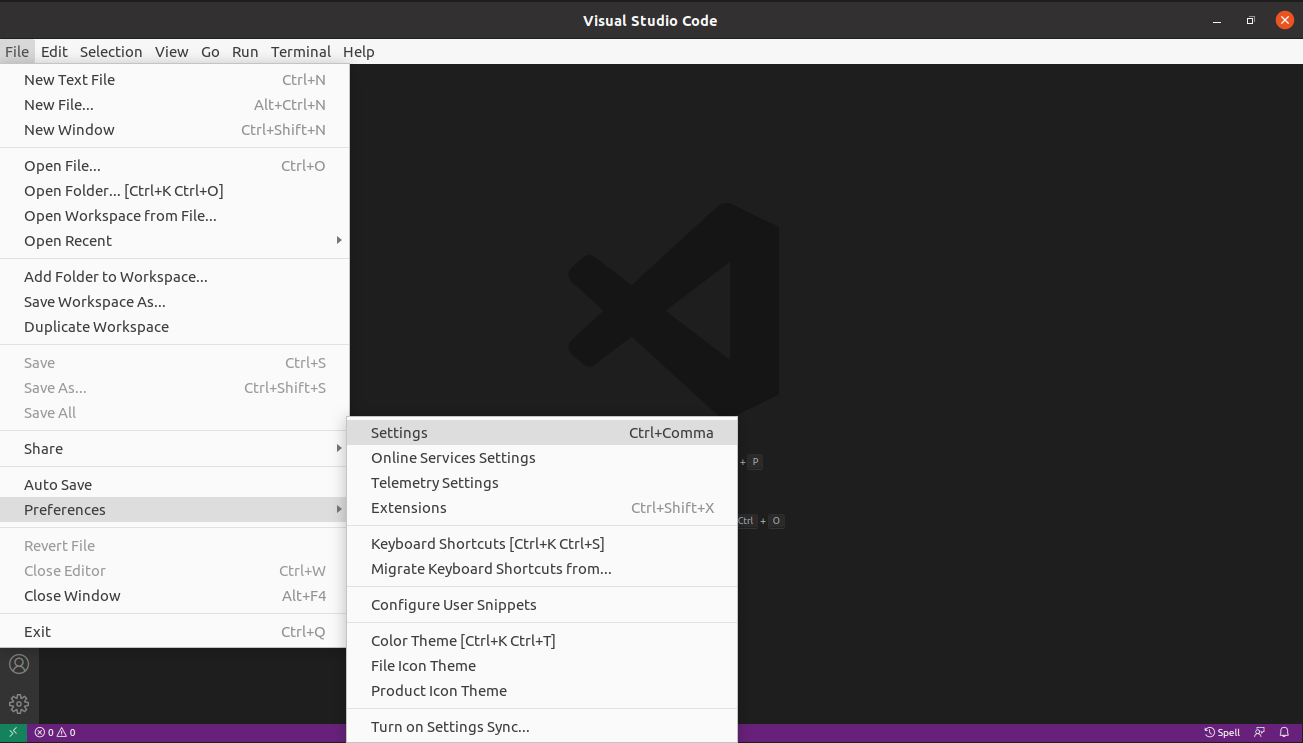
Go to File > Preferences > Settings.
-
Click on
Fontunder theText Editordropdown list or search font in the search bar.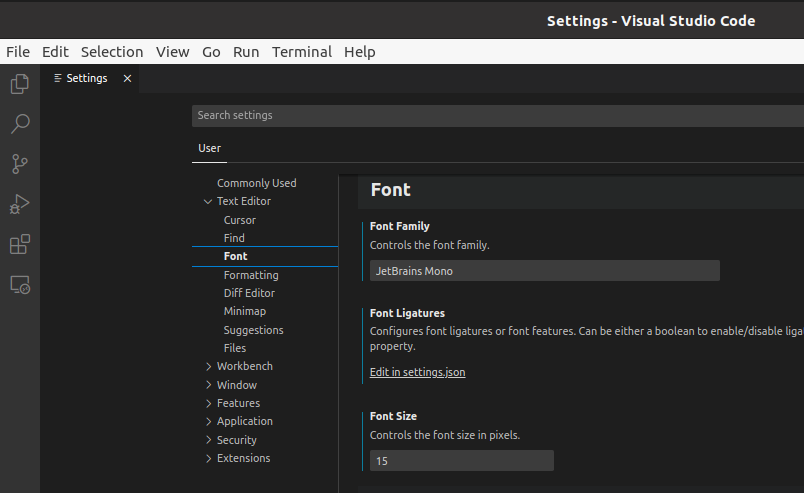
- Find the Font Family text box and put
JetBrains Monoit before the other default fonts or you can just delete all existing fonts and then put onlyJetBrains Monoin that box and boom!! you have successfully installed theJetBrains Monofont for your VS Code editor.
Step - 4: Restart your VS Code editor
Sometimes you might need to restart your system before changes take effect.
The default VS Code fonts are awesome, but changing font can make you feel more at home in your code editor and even increase the excitement to code. Happy Coding!!