Introduction
The term LAMP represents Linux (Operating System), Apache (Web Server), MySQL (Database) and PHP (Programming Language). The LAMP stack consists of these four open-source software, which used to host a dynamic website written in PHP.
In this tutorial, we will learn how to install LAMP stack on an Ubuntu 20.04 server.
Prerequisites
I am assuming that you have Ubuntu 20.04 server and have access to a non-root user account with sudo privilege.
Installing Apache
Apache HTTP Server or Apache for short is the most popular web server in the world, developed by the Apache Software Foundation.
We will install Apache using Ubuntu’s default package manager apt:
sudo apt update sudo apt install apache2
When prompted to confirm press Y then Enter.
Once the installation is completed, If you have set up a firewall then you have to adjust your firewall setting to allow HTTP traffic on port 80 (normal, unencrypted traffic) or 443 (TLS/SSL encrypted traffic) according to your need.
Once traffic is allowed on port 80 then you can perform a quick check that Apache installed successfully by visiting the public IP of your server in your web browser.
http://your_server_public_ip
You will see the default Ubuntu Apache web page, it looks like this:
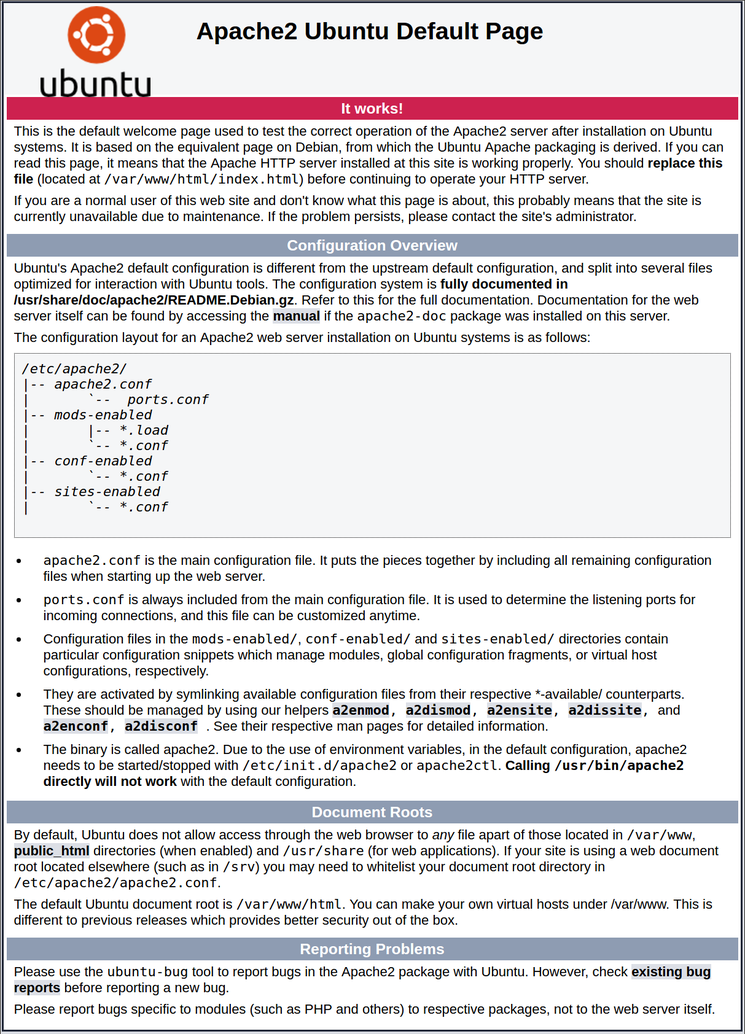
If you see this page then your web server installed correctly and accessible through your firewall.
Installing MySQL
Now we have successfully installed the webserver, Let’s install the database system. MySQL is a popular database management system used within PHP environments.
Again we will use apt to install MySQL.
sudo apt install mysql-server
When prompted for confirmation press Y then Enter.
When the installation is completed, a security script will automatically be installed with MySQL, when we run this script it will remove some insecure default settings and lock down the database system access. It is always recommended to run this script, to run the script use the following command:
sudo mysql_secure_installation
This will ask Would you like to setup VALIDATE PASSWORD component?
Note: This feature used to check the strength of the password, If this feature is enabled, passwords that don’t match the specified criteria will be rejected by MySQL with an error. It is safe to leave the validation disabled, but it is strongly recommended that you should always use strong and unique passwords for the database credentials.
Securing the MySQL server deployment. Connecting to MySQL using a blank password. VALIDATE PASSWORD COMPONENT can be used to test passwords and improve security. It checks the strength of password and allows the users to set only those passwords which are secure enough. Would you like to setup VALIDATE PASSWORD component? Press y|Y for Yes, any other key for No:
Answer Y for yes then Enter, or anything else to continue without enabling.
If you answer “yes”, it will ask you to select a level of password validation.
There are three levels of password validation policy: LOW Length >= 8 MEDIUM Length >= 8, numeric, mixed case, and special characters STRONG Length >= 8, numeric, mixed case, special characters and dictionary file Please enter 0 = LOW, 1 = MEDIUM and 2 = STRONG:
If you enter 2 for the strongest level, you will receive errors while attempting to set any password which does not contain numbers, uppercase and lowercase letter, and special characters, or which based on common dictionary words.
Either you have set up or not VALIDATE PASSWORD component, the next thing server will ask you to enter and re-enter the new password for the MySQL root user. Do not confuse it with Ubuntu root user. The MySQL root user is an administrative user with full privileges over the database system.
Please set the password for root here. New password: Re-enter new password:
If you enabled the VALIDATE PASSWORD component, you will see the password strength for the password you entered and the server will ask you if you want to continue with this password. If you are satisfied with this password press Y then Enter.
Estimated strength of the password: 100 Do you wish to continue with the password provided?(Press y|Y for Yes, any other key for No) : y
Once the password for the root user is set, the server asks you to Remove anonymous users, press Y to remove.
Remove anonymous users? (Press y|Y for Yes, any other key for No) : y
Now the server will ask to Disallow root login remotely, press Y then Enter:
Disallow root login remotely? (Press y|Y for Yes, any other key for No) : Y
To remove the test database press Y then Enter when prompted:
Remove test database and access to it? (Press y|Y for Yes, any other key for No) : Y
To apply new rules immediately reload the privilege table, press Y then Enter when prompted:
Reload privilege tables now? (Press y|Y for Yes, any other key for No) : Y
When you are finished, you can log in to the MySQL console by:
sudo mysql
This will connect to the MySQL server as the database administrative user root.
Welcome to the MySQL monitor. Commands end with ; or \g. Your MySQL connection id is 18 Server version: 8.0.25-0ubuntu0.20.04.1 (Ubuntu) Copyright (c) 2000, 2021, Oracle and/or its affiliates. Oracle is a registered trademark of Oracle Corporation and/or its affiliates. Other names may be trademarks of their respective owners. Type 'help;' or '\h' for help. Type '\c' to clear the current input statement. mysql>
Notice that you don’t have to provide a password to connect as the root user, even though you have defined one when running mysql_secure_installation script. That is because the default authentication method for the administrative MySQL user is unix_socket instead of a password. This might seems like a security concern but it makes the database system more secure because only system user with sudo privilege connecting from the console is allowed to log in as MySQL root user. That means you won’t be able to connect the database as the administrative database root user for your PHP application. Setting a password for the administrative root user is a safeguard in case the default authentication method changed from unix_socket to password.
For more security, it is recommended to set up a dedicated user with less expensive privilege for every database, especially when hosting multiple websites on your server and each website uses its own database.
To exit the MySQL console use the command:
mysql> exit
Now your MySQL server installed and secured. Let’s install PHP.
Installing PHP
The final component of the LAMP stack is PHP, which will process our website code to display dynamic content to the user.
In addition to the php package, we also need php-mysql, a PHP module that allows the PHP to communicate MySQL database server. We also need libapache2-mod-php which enable Apache to handle PHP files.
To install these package at once, run:
sudo apt install php libapache2-mod-php php-mysql
When prompt for confirmation press Y then Enter.
Once installation completed then you can confirm the PHP version by running:
php -v
PHP 7.4.3 (cli) (built: Oct 6 2020 15:47:56) ( NTS ) Copyright (c) The PHP Group Zend Engine v3.4.0, Copyright (c) Zend Technologies with Zend OPcache v7.4.3, Copyright (c), by Zend Technologies
Now PHP is installed, we need to restart the Apache web server.
sudo systemctl restart apache2
Conclusion
Now your LAMP stack is successfully installed and running. You can follow next to learn How to host a PHP website using the LAMP stack.